
“I Spy” bottles are great to use in your Speech Therapy sessions, with children of all ages- from your little ones in Early Intervention and Preschool, to your older elementary aged kids. An “I Spy” bottle is a bottle filled with rice and mini-objects and you can use it for a range of speech and language goals. Keep reading to see how and why you should be using “I Spy” bottles in your Speech Therapy sessions!
Benefits of using an "I Spy" bottle in your therapy sessions
“I Spy” bottles are easy (and cheap) to make, highly engaging, and extremely versatile! They’re also easy to transport, which is handy if you’re a therapist that travels around settings. You can also use them with a range of children. If you carefully consider what you include in the bottle, you could use one bottle for a huge range of goals! An added bonus is that the bottle can be easily wiped clean, making it ideal to use in your in-person Speech Therapy sessions too (yes- even your groups!).
Here's what you need to make an "I Spy" bottle for Speech Therapy
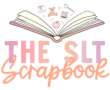
Making an “I Spy” bottle for your Speech and Language Therapy sessions is really easy. All you need is:
- An empty bottle. I like using empty shower gel bottles as they’re a good size for little hands to hold!
- Dry rice. Or you can use any other small filler, such as dry lentils. I like using rice though as it is pale and small, so doesn’t distract away from the objects inside.
- Mini-objects/trinkets/buttons. For my bottle I used decorative buttons from my local craft store as they were the perfect size to fit in the neck of the bottle. You can also buy sets of mini-objects online if you want a set “ready made”.
How to make an "I Spy" bottle to use in your therapy sessions
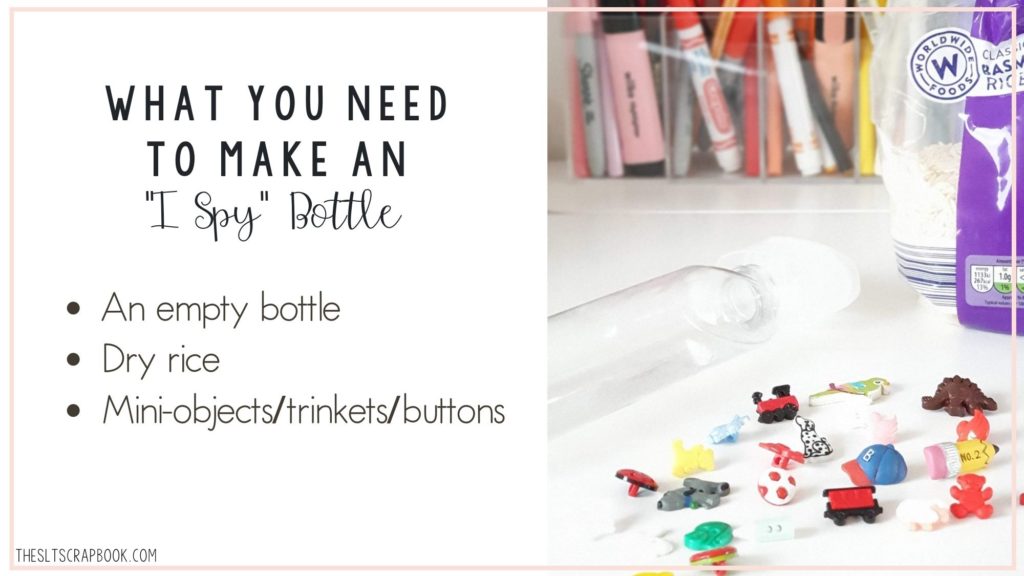
Making the “I Spy” bottle is so simple and really quick. You just add the rice to the bottle. Fill it up about 2/3 of the way (or less, if you have more objects). Then you add your mini-objects, put the lid on, and shake.
It might take some time to get all the objects equally spread throughout the rice. But the great thing about it is it keeps moving and changing too, so there’s always something new to see. Which is why it is so engaging and fun to use in your therapy sessions!
7 engaging ways to use "I Spy" bottles in your Speech Therapy sessions
You can make “I Spy” bottles for a range of speech and language goals, and can use them with children of all ages– from little ones in early intervention to your older school-age students!
Here are some examples of how you can use an “I Spy” bottle in your Speech Therapy sessions-
- Add items that are common first words for your late talkers, such as animals, toys, vehicles, food, and clothing. You can point to and talk about the things you see in the bottle, modelling the target words. You could extend this by matching it to pictures or real objects too. So, if you see a hat in the bottle, you get the child to find their hat, etc.
- Add items that can represent symbolic sounds (animals, vehicles, etc.). You could also put some mini food objects in, and model eating sounds when you see the food in the bottle. You can also model sounds such as “hmm”, “wow”, “oo!” when you’re looking at the bottle.
- Develop vocabulary skills by talking about associations, comparing/contrasting, and categories.
- Make a bottle full of objects that contain particular speech sounds for your speech students. You could make a bottle for each sound, i.e., all the items contain the /k/ sound or all start with /s/ clusters. You could also make a bottle for multi-syllabic words, or include objects for different phonological patterns.
- Include objects that show different concepts for your students with language goals. For example, include big and small versions of the same thing, or the same thing in different colours or styles.
- You can add any items you want and just use it to encourage sentence building. You can use sentence strips to help support this if required. For example “I see a…” or “I like the…”. For other children you could encourage them to formulate a more complex sentence that includes adjectives. E.g., I like the small, spotty dog.
- If you have groups, you could pass the bottle round and take turns saying what you can see. Or even describing the object to someone else in the group for them to guess and find in the bottle. E.g., “I see something small and red that you can cuddle” (red teddy bear in the bottle pictured above).
Want to see my "I Spy" bottle close-up?
I shared the process of how to make an “I Spy” bottle over on my Instagram page. You can check out the reel here:
I share lots of tips and ideas for Early Intervention over on Instagram. I love sharing posts and ideas to help you feel confident that you’re delivering effective Early Intervention. I’d love for you to come give me a follow!